
We will tell you what material to take for crafts, and show the basic techniques of making buds.
Among the simple ways to decorate the room, the decor from hand-made tools is popular. Handmade flowers from paper on the wall look exquisite, do not require special skills and abilities.
At any holiday, the success of the photo area, where the dressed-up guests can be photographed for the memory. Such a zone can be ordered from a designer, but it is better to build it yourself. This is a great excuse to show your creative imagination. At children’s birthday parties with paper bouquets decorate candy bar. This is not as familiar as balloons, so it is perceived by all parties on fire.
You can make a permanent decoration, harmoniously matched the color scheme to the rest of the interior. Most often decorate bedrooms, children’s rooms, but also in the living room or corridor such compositions will look good. They look bright, last a long time and do not crumble, unlike living plants. With the help of such a decor you can disguise small cosmetic defects of the walls.

Planning the layout of volumetric flowers from paper on the wall
First of all, you need to find a suitable place for the future composition. Then determine its size. The scheme of placement can be different: a circle, a flying plume, a heart, a chaotic figure. The buds can surround inscriptions, numbers, interior objects (clocks, paintings). Mounting models on the wall can be done with double-sided adhesive tape.
The overall appearance of the composition depends on the density of placement. A carpet of densely placed layered models is usually made of simple blanks of the same shade. Their charm is in the number and uniformity. Another option is flowers made of beautiful paper, which are distinguished by their complex shape and abundance of details. They are placed at a distance to emphasize the beauty and uniqueness of each. Bouquets with different sized flowers look harmonious, especially if you complement them with unopened buds.
Choosing the shade, rely on the theme of the upcoming holiday or the overall design of the room. If you plan to take single-colored sheets, experiment with the depth of color. For example, pink with coral and red would be a good option. If you want a bright mottled bouquet, look at the color wheel first to find a successful combination of hues.
Choosing the right material
Corrugated, kraft, wrapping or plain office paper will do the job. If it will be colored models, it is better to take double-sided (colored on both sides).
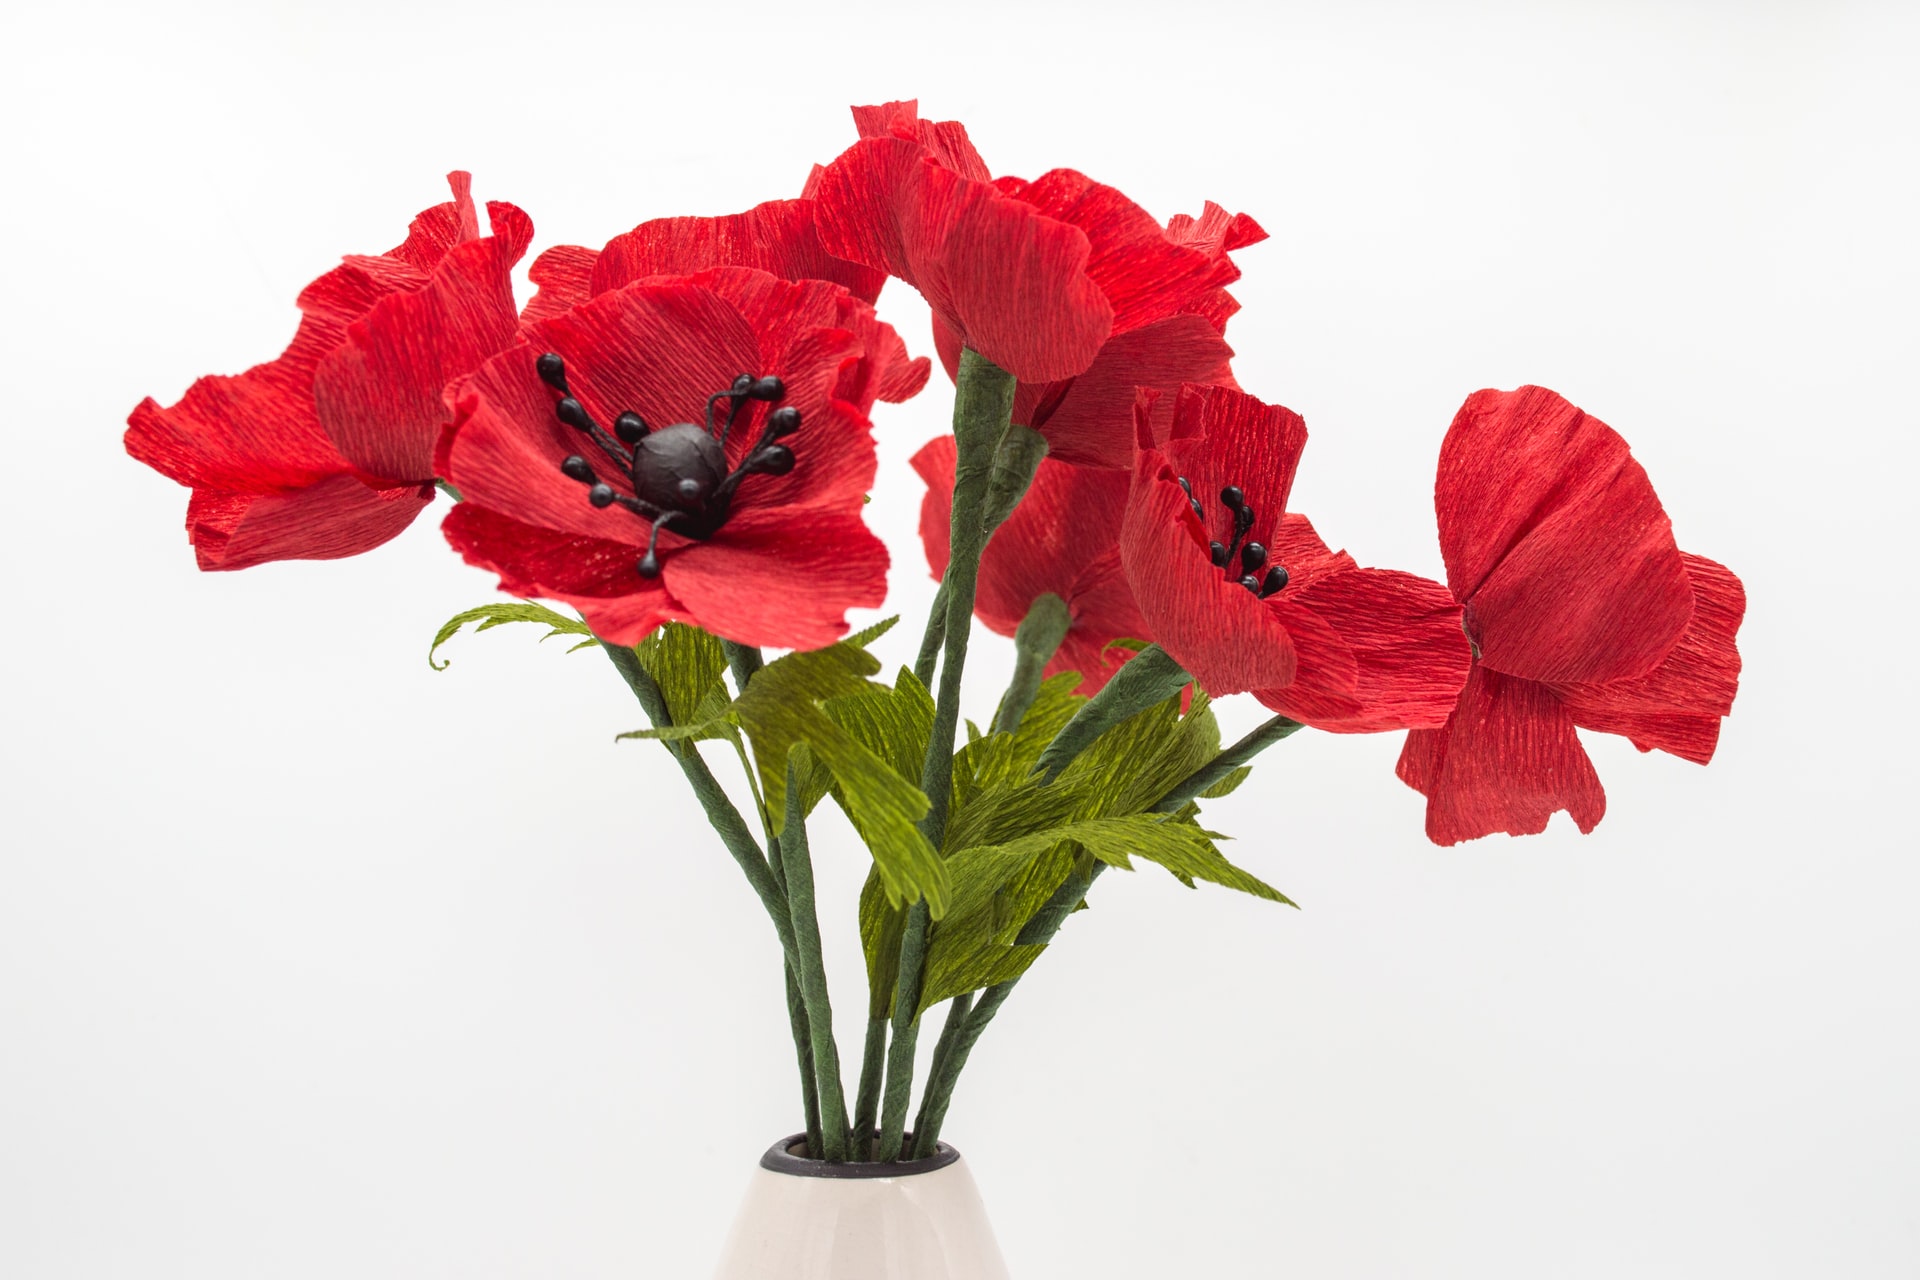
Corrugated paper has different purposes. For our purposes suitable floral (with a density of 120 to 180 g / sq. m.). It is designated crepe extra and allows you to crimp the most realistic inflorescences. This is an affordable, inexpensive material, which has a wide range of shades (monochrome, gradient, metallic). It is particularly successful with peonies, carnations, dandelions.
Kraft paper is dense brown wrapping paper. Due to the stiffness holds its shape well. To decorate the resulting buds use glitter, varnish, rhinestones.
Designer differs from the usual high density (150 to 290 grams) and different effects (embossing, mother-of-pearl, glitter). Handicrafts of it look expensive and do not lose their beautiful appearance for over a year.
Before buying it is worth calculating the necessary amount of material. To do this, the outline of one pattern can be drawn to a square and count how many such patterns will fit on one sheet. Then determine the total number of petals and calculate how many sheets you need for one flower.

Let’s get to work
We will need: paper, cardboard (for the base), scissors, glue (hot, second or PVA), stapler, wire. To twist the petals, a pencil or marker with a round shape without edges will come in handy. To understand the process and practice, it is better to start with buds of small size. This will save time and material. Then, after understanding the principles, correcting mistakes, you can proceed to the manufacture of large models or use Paper Flower Templates.
Method “accordion”.
With its help, you can make flowers from corrugated paper on the wall: peonies, carnations, daisies and other fluffy species. Sheets are folded into accordions. To prevent them from unrolling, fasten them with a paper clip or a clamp. We cut the accordion to size – reduce each by 2 cm. The edges of the blanks give the shape of petals (sharp or oval). Now unwrap all the rolls and put sheets on top of each other, starting with the largest. Fold the resulting accordion and tied in the middle of a wire. Carefully spread each layer up, leaving the wire at the bottom. The edges of the opposite ends of the accordion staple or glue. To close the core, cut a small rectangle, make incisions on the long side, a parallel side of the twist in a bundle and glue to the center. To decorate the middle also suitable beads, buttons, rhinestones.

The way of a single petal
This is how to make roses, tulips, lilies. To do this, prepare a few pieces of the same shape, but different sizes: the smallest for the center and large at the edges. How many sizes of petals – so many templates. Then from the main material cut out the required number of parts. The edge of each piece is cut with scissors to make it natural. If the paper is corrugated, you can do volume billet – stretch it in the center and curve. If ordinary, we make a notch in the base, the edges of the notch overlap one another, providing volume. All parts glued to the cardboard base. Assembly starts from the edge of the cardboard in a circle. Each subsequent layer is displaced to the middle. The core can be masked in the same way as in the first method.